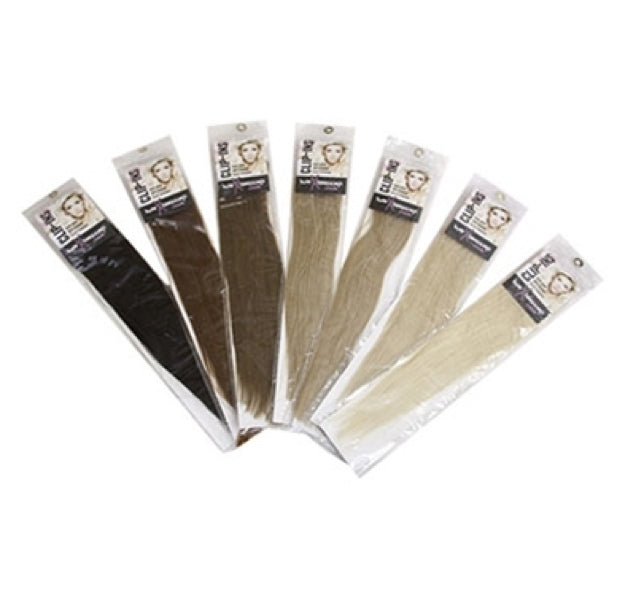
If you are looking to add a little volume or length to your hair, clip-in remy hair extensions are the perfect way to get instant results without having to make a commitment as huge as permanent hair bonding. These extensions are pretty easy to maintain and can even be put in place the DIY way – meaning that you can create just about any style you want with your hair without having to visit the salon even once! Wish to know more? Here is how you can put on clip-in hair extensions on your own: Step#1: Before you begin the process of appling your clip in hair extensions, practice opening and closing them a few times so that you are well aware of the pressure you need to apply with your thumb to secure them in position. Step#2: Start by dividing your hair in two with a clean horizontal line just a few inches above your neck. You can use a tail comb or your index finger for the purpose. Secure the upper section of your hair with a claw clip or hair tie. Step#3: Check and ensure that all the clips in each weft of the extensions you are clipping in are in an open position. Step#4: Start with the middle weft first. Slide the comb on the weft into your natural hair slowly and snap the extension shut. Repeat the same process as you move outwards on the extension on the left and right ride. Step#5: Check to ensure that the weft lies flat on your scalp and is properly secured in place in your hair. You can ask a friend to properly inspect your clip in at this point. Step#6: Loosen the hair you had tied above and make a horizontal division again about an inch above the first extension you placed in and repeat the process. Keep moving above on your head and attach wefts in place. Step#7: Make a horizontal part above your ears to attach the side pieces in the same manner. Step#8: Use a mirror or as a friend to inspect your installations to check if any wefts are showing THAT’s how easy it is to put on clip in remy hair extensions. Try it today!
How To Install Clip In Remy Hair Extensions.
- 05 Dec, 2017


