


Nano-Tip Application Tutorial:The nano ring technique is the latest and most discreet way of applying hair extensions currently on the market today. Nano-tipped hair extensions are very popular as they are extremely comfortable and there nano-beads are almost impossible to see! This method is very similar to the “stick-tipped” technique and 3mm nano-beads are considered to be less noticeable and 90% smaller than traditional micro rings. If you have thin/fine hair we recommend using 0.5g strands, or you have thick hair and want more volume we suggest going for our 1.0g strands.
Prepare Before Installation:Before application we always recommend you carry out a skin patch test, just in case your customer reacts in anyway to the nano-tip bonds or nano rings Patch Test Explained Its very important that you make sure your natural hair (or client's hair) washes it before installing nano-tipped hair extensions. We recommend you need to wash the hair at least twice with a deep cleansing shampoo to remove any grease or oils several days before you start the application process. If the hair is not completely clean, the nano-rings will not take to your hair correctly, this can cause the extension to slip.
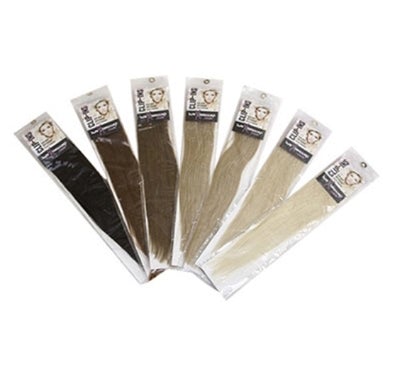
Tools Required To Apply Nano Tip Hair Extensions?Here is a list of items you will require before installation: ■ Nano Tip Hair Extensions
Step-By-Step Instructions:1) To apply nano-tip extensions, firstly load your EZ Threader tool with a nano-ring, then simply thread the bead over the hook so the nano-ring is resting on the stick, to save time with the application you can load extra rings on the threader.2) Using a section comb, create a section off a small amount of hair to prepare for attaching your first extension. Then using the EZ Threader tool, simply hook the hair and feed the first bead over the hook, which will feed the hair through the nano-ring. 3) Then feed the metal hook from the nano-tip extension into the nano-bead. 4) Position the nano-ring into place but not too close to the root area (to prevent from pulling the hair) 5) Using your smooth-jaw pliers, clamp the nano ring so its nice and secure, this will hold the extension in place. 6) Repeat the above steps until you have finished the full head application! Nano Tip Hair Extensions Removal?Items Required for Nano-Bead Removal:■ Nano Ring Opener Tool or HairX Pro Nano Pliers Nano tip hair extensions are very easy to remove, with a pair of nano-ring opener pliers, all you need to do is squeeze the bead open and the hair extension slides out. We suggest removal and application should only be done professionally and by a trained extension specialist.
View our range of Standard 3mm Nano-Rings Checkout our selection of 3mm Silicone-Lined Nano Rings We also supply a selection of Pre-Loaded Nano-Beads |
How To Apply Nano Tip Hair Extensions
- 03 Feb, 2022