


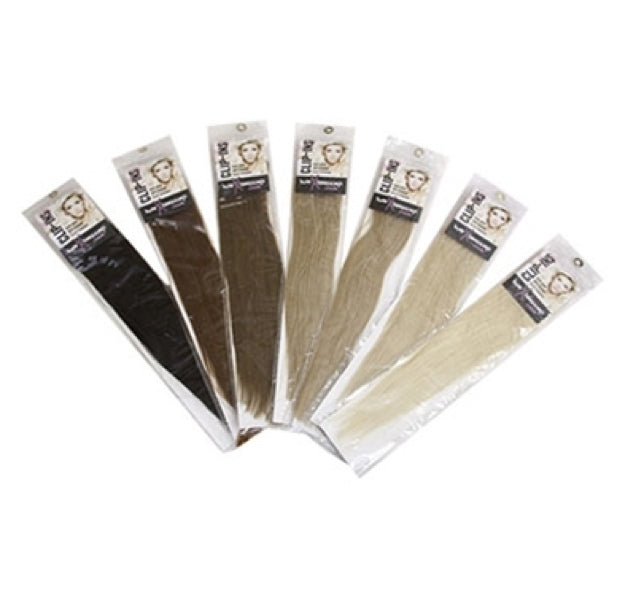
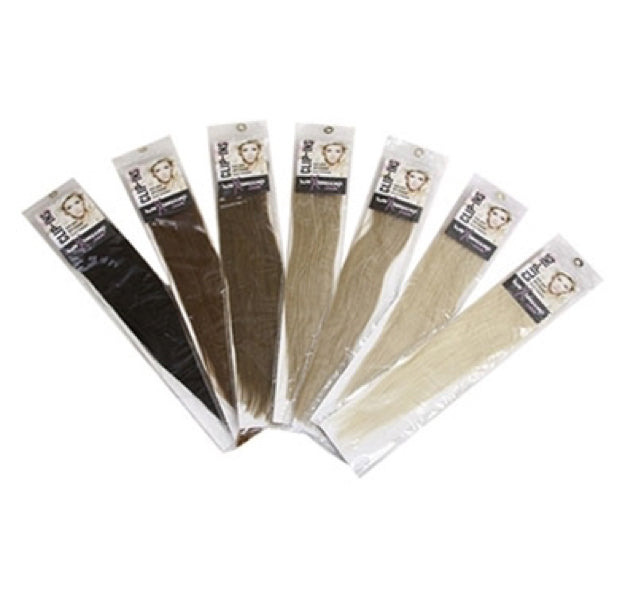
Micro-Loop hair extensions are an individual strand extension method with a Micro Ring and guiding loop already attached to each extension strand.
During professional fitting, a suitable section of natural hair is placed through the guiding loop. The loop then draws the natural hair through the pre-attached Micro Ring before the ring is positioned and closed using professional pliers.
The pre-looped design means a separate Micro Ring and threader do not need to be loaded for every extension strand.
However, correct natural-hair assessment, extension weight, section size, positioning and ring closure are still important for a secure and comfortable result.
Quick answer: Micro-Loop extensions are fitted by isolating an appropriate natural-hair section, placing it through the extension's pre-attached guiding loop, pulling the natural hair through the Micro Ring, positioning the attachment comfortably and closing the ring evenly with professional pliers.
Professional Fitting Recommended
Micro-Loop application does not use heat or liquid glue, but correct sectioning, extension weight, ring position and closure still require professional judgement. A ring-based method should not rely on excessive clamping or scalp tension to remain secure.
Micro-Loop Hair Extension Fitting Video
Watch our original HairXtensions Micro-Loop fitting demonstration, then follow the updated step-by-step guide below.
What Are Micro-Loop Hair Extensions?
Micro-Loop extensions work on a similar ring-based principle to Stick-Tip / I-Tip extensions, but the extension arrives with its Micro Ring and guiding loop already attached.
Pre-Attached Ring
The Micro Ring is already positioned on the extension, so a separate ring does not need to be loaded for every strand.
Built-In Guiding Loop
The attached loop helps transfer the natural-hair section through the Micro Ring during fitting.
No Heat During Application
Standard Micro-Loop fitting mechanically closes the Micro Ring rather than using a heat-fusion attachment.
Individual Strand Method
Each extension is positioned separately, allowing controlled colour, weight and placement throughout the fitting.
Start With a Client Consultation
Before fitting Micro-Loops, assess the client's natural hair and whether the chosen extension strands are suitable for the areas being fitted.
Hair Density
Check that the natural hair can comfortably support the planned extension weight.
Hair Condition
Weak, significantly damaged or thinning areas need careful assessment before a fitted extension service.
Colour Match
Choose the closest extension shade before fitting rather than planning to bleach or chemically alter the extension hair later.
Extension Weight
Match the individual strand and total extension weight to the client's natural hair.
Do not automatically attach Micro-Loop components to the client's skin as an improvised allergy test. Use an appropriate consultation and follow relevant manufacturer instructions where applicable.
Preparing the Hair Before Micro-Loop Application
The root area should be clean, dry and manageable without unnecessary oily or slippery product residue.
- Detangle the natural hair thoroughly.
- Make sure the fitting area is completely dry.
- Avoid oils and rich conditioning products around the roots.
- Work in clean, controlled rows.
- Keep surrounding hair securely clipped away.
- Organise extension shades and strand weights before fitting.
Oil or heavy product around a ring attachment can contribute to slippage, but hair preparation is only one factor. Ring closure, section size, placement and natural-hair characteristics also matter.
Tools Needed for Micro-Loop Fitting
Because the ring and guiding loop are already attached to each extension, Micro-Loop fitting requires fewer separate components than conventional Stick-Tip application.
How Much Natural Hair Should Go Through a Micro-Loop?
The section of natural hair needs to be appropriate for the pre-attached Micro Ring, the extension strand and the client's natural hair.
Section Too Small
Too few natural hairs may be asked to support inappropriate extension weight.
Section Too Large
The natural hair may not pass cleanly through the guiding loop and Micro Ring or may prevent secure positioning.
More or less hair is not automatically better. The natural-hair section should suit the individual extension and ring.
How Close to the Scalp Should Micro-Loops Be Fitted?
Position the attachment close enough to create a neat result while allowing comfortable natural movement.
Rather than treating exactly 0.8–1cm as a universal rule, placement should consider the fitting area, natural direction of growth, attachment movement and client comfort.
A ring should not sit so tightly against the scalp that the client experiences significant pulling, pinching or persistent tenderness.
How to Fit Micro-Loop Hair Extensions
We've retained all six original HairXtensions fitting photographs because they clearly demonstrate the built-in guiding-loop process.

Create a Clean Natural-Hair Section
Use a sectioning comb to isolate an appropriate amount of natural hair while keeping neighbouring hairs out of the attachment area.

Control the Natural-Hair Section
Hold the isolated section neatly so it can pass cleanly through the guiding loop without catching surrounding hair.

Place the Hair Through the Guiding Loop
Position the pre-attached guiding loop around the natural-hair section so the section sits cleanly inside it.

Check the Section Before Pulling Through
Confirm that the complete intended natural-hair section is inside the guiding loop and neighbouring hairs are not trapped.

Hold the Ring & Guiding Loop
Stabilise the pre-attached Micro Ring while holding the end of the guiding loop ready to transfer the natural hair through the ring.

Pull the Natural Hair Through the Micro Ring
Pull the guiding loop smoothly so the natural-hair section passes through the pre-attached Micro Ring and the guiding loop releases from the fitting area.
Finish the Micro-Loop Attachment
Position the Ring
Move the attachment into the intended fitting position while leaving enough space for comfortable movement.
Check the Alignment
Make sure the extension hangs naturally and that neighbouring hairs have not crossed into the section.
Close the Micro Ring
Use suitable professional pliers to close the Micro Ring evenly around the natural-hair section.
Check the Finished Attachment
Confirm that it is secure, comfortable and free from trapped cross hairs.
What Should a Correctly Fitted Micro-Loop Feel Like?
Secure
The attachment should not immediately slide after correct closure.
Comfortable
There should be no significant or persistent pulling.
Clean Section
Neighbouring hairs should not be trapped within the attachment.
Appropriate Support
The natural-hair section should be suitable for the extension strand.
Why Can Micro-Loop Extensions Slip?
If the complete extension and Micro Ring begin moving down the natural hair, this is attachment slippage.
Possible contributing factors include:
- Natural-hair section size
- Incorrect ring closure
- Oil or heavy product around the attachment
- Natural-hair characteristics
- Aggressive brushing
- Placement
- Hair growth and overdue maintenance
Common Micro-Loop Fitting Mistakes
Do
- Assess the natural hair first
- Use controlled natural-hair sections
- Keep neighbouring hair out of the loop
- Position attachments comfortably
- Close rings evenly
- Check each attachment after fitting
- Explain maintenance and aftercare
Avoid
- Using tiny sections to support too much weight
- Forcing oversized sections through the loop
- Fitting rings tightly against the scalp
- Trapping cross hairs
- Repeatedly crushing the ring
- Applying oils directly around fitted rings
- Ignoring repeated slippage
Micro-Loop Hair Extension Aftercare
- Brush gently from the ends upwards.
- Support fitted hair close to the attachment while brushing.
- Wash with the head upright.
- Avoid rubbing or twisting extensions together.
- Keep oils and heavy conditioners away from the Micro Rings.
- Use conditioning products mainly through the mid-lengths and ends.
- Dry the attachment areas thoroughly.
- Never sleep with fitted extensions wet or damp.
- Secure longer hair loosely before bed.
- Attend professional maintenance when required.
How Are Micro-Loop Extensions Removed?
Micro-Loop removal is covered in its own dedicated guide. The fitted Micro Ring is professionally reopened before the extension is released from the natural hair.
Micro-Loop Removal GuideRelated Hair Extension Guides
Micro-Loop Hair Extension Fitting – FAQs
What are Micro-Loop hair extensions?
Micro-Loops are individual extension strands supplied with a Micro Ring and guiding loop already attached to assist professional fitting.
How are Micro-Loop extensions fitted?
An appropriate section of natural hair is placed through the guiding loop, pulled through the pre-attached Micro Ring and the ring is then positioned and professionally closed.
Do Micro-Loops use heat?
Standard Micro-Loop application does not require heat fusion.
Do Micro-Loops use glue?
No liquid glue is required for standard Micro-Loop application. The extension is secured using its pre-attached Micro Ring.
What is the difference between Micro-Loop and Stick-Tip extensions?
Stick-Tips normally require a separate Micro Ring and threader during application. Micro-Loops arrive with the ring and guiding loop already attached to the extension strand.
How much natural hair should go through a Micro-Loop?
Use an amount appropriate for the extension strand and natural hair. Too little may provide inadequate support, while too much may prevent correct threading and closure.
How close should Micro-Loops sit to the scalp?
They should sit neatly while allowing comfortable natural movement. One exact distance should not be treated as a universal rule for every client and fitting area.
Why do Micro-Loop extensions slip?
Section size, ring closure, product around the attachment, natural-hair characteristics, brushing, placement and maintenance can all contribute.
Should Micro-Loop extensions hurt?
Significant or persistent pain should not simply be accepted as normal. Have uncomfortable attachments checked for tension, trapped hair and sectioning.
How are Micro-Loop extensions removed?
The fitted Micro Ring is professionally reopened with suitable removal pliers before the extension and natural hair are separated. See our dedicated Micro-Loop Removal Guide.
Pre-Looped Doesn't Mean Technique-Free
Micro-Loops make threading more convenient by including the guiding loop and Micro Ring on each strand, but successful fitting still depends on suitable extension weight, controlled natural-hair sections, comfortable placement and correct ring closure.
Shop Micro-Loop Extensions Removal Guide All Fitting & Removal Guides