


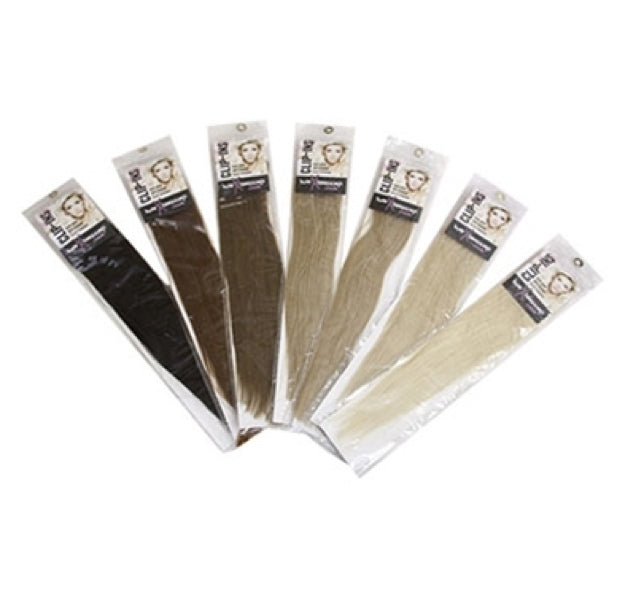
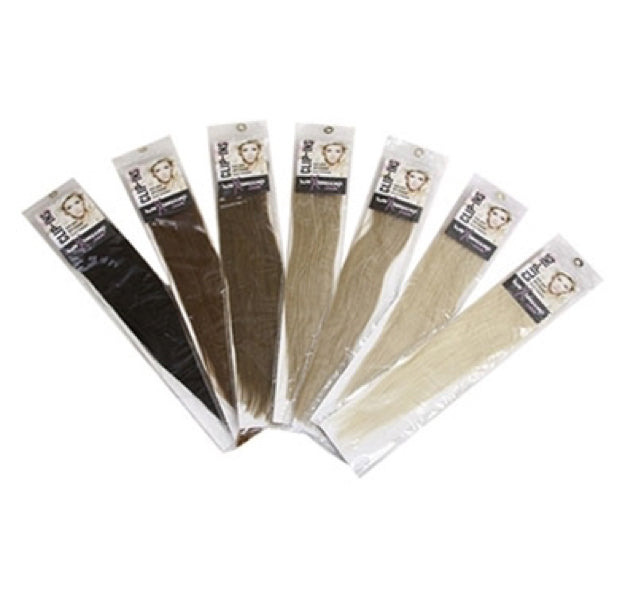
Nail-Tip hair extensions, also known as U-Tip or pre-bonded hair extensions, are fitted strand by strand using the fusion method.
Each extension has a pre-bonded keratin tip. During professional application, an appropriate section of natural hair is isolated and the pre-bonded attachment is softened using a professional heat connector. The softened keratin is then formed securely around the natural hair before being allowed to cool.
Successful Nail-Tip application depends on much more than simply heating the bond. Correct consultation, natural hair assessment, section size, placement, extension weight, heat control and bond formation all matter.
This guide includes our original HairXtensions application video and step-by-step fitting photographs, together with updated professional fitting advice.
Quick answer: Nail-Tip extensions are professionally fitted by placing a pre-bonded keratin tip alongside an appropriate section of natural hair, softening the bond with a professional heat connector and forming the softened keratin into a neat attachment. The finished bond should sit securely without being positioned so tightly that it causes unnecessary scalp tension.
Professional Fitting Recommended
Nail-Tip application uses heated professional equipment close to the client's natural hair and scalp. Correct sectioning, heat control and bond formation require training and practical experience.
We recommend Nail-Tip extensions are fitted by a trained extensionist who understands the professional fusion technique and the particular equipment being used.
Nail-Tip / U-Tip Application Video
Watch our HairXtensions Nail-Tip fitting demonstration, then follow the updated step-by-step guide below.
What Are Nail-Tip / U-Tip Hair Extensions?
Nail-Tips are individual human hair extension strands supplied with a pre-formed keratin attachment at the top.
During fitting, the attachment is softened with a professional heat connector and formed around a suitable section of the client's natural hair.
This is commonly known as the fusion method.
Individual Strand Method
Extensions are applied one strand at a time, allowing the extensionist to control placement and distribution around the head.
Heat-Fusion Attachment
The pre-bonded keratin is softened during application and then forms a firm attachment as it cools.
Tools Required for Nail-Tip Application
Professional Nail-Tip application is easier when the correct equipment is organised before beginning the fitting.
Our Pre-Bonded Hair Extension Starter Kit includes a HairX Pro Heat Applicator, HairX Pro Bristle Brush, Hair Grippers, Human Hair Colour Ring, Heat Shields and Finger Protectors.
Start With a Professional Consultation
Before fitting, assess the client's natural hair and discuss the desired result, extension length, colour, total amount required, maintenance and aftercare.
Check density, strength and whether the natural hair appears suitable for a professionally fitted strand method.
Select the closest extension shade before fitting rather than planning to bleach or chemically alter the extensions later.
Choose an appropriate strand weight and overall amount for the natural hair supporting it.
Do not simply cover significant hair loss, active irritation or unexplained scalp problems with a new extension fitting.
A client consultation form can also help document the chosen method, important client information, maintenance expectations and aftercare advice.
View Client Consultation FormDo Nail-Tip Extensions Need a Skin Patch Test?
We no longer recommend using one improvised procedure where pre-bonded extension material is automatically placed behind a client's ear for 24–48 hours and a negative result is treated as proof that the service cannot cause a reaction.
Instead, identify the professional products being used and follow any testing or safety instructions supplied by their manufacturer.
A salon-created compatibility check is not the same as specialist dermatological patch testing. See our updated Skin & Patch Testing guide for more information.
Preparing the Natural Hair for Nail-Tip Extensions
The hair should be properly prepared before professional application.
- Make sure the natural hair is clean and completely dry.
- Remove heavy product, oil or conditioner residue around the fitting area.
- Detangle the natural hair thoroughly.
- Organise the extension shades and lengths before beginning.
- Work in clean, controlled rows.
- Keep neighbouring hair securely sectioned away from the fitting area.
Avoid coating the root area with oils, rich treatments or heavy styling products immediately before fitting.
How Many Nail-Tip Extensions Are Needed?
There is no single number of Nail-Tip strands that suits every client.
The amount required depends on factors including:
- Natural hair density
- Natural hair length
- The desired finished length
- The amount of volume required
- Individual extension strand weight
- The client's haircut and overall blending requirements
More extensions are not automatically better. The total extension weight needs to be suitable for the client's natural hair rather than simply fitting the maximum number of strands possible.
What Temperature Should a Nail-Tip Heat Connector Be?
We do not recommend one universal temperature setting for every keratin bond and every fusion applicator.
Professional heat connectors and bonding materials can differ, so use the operating instructions for the particular tool and Nail-Tip product being fitted.
The aim is to soften the keratin sufficiently for controlled bond formation without unnecessarily overheating the attachment or surrounding hair.
Do not assume that increasing the temperature automatically produces a stronger or better bond.
How to Fit Nail-Tip / U-Tip Hair Extensions
The original HairXtensions fitting photographs are retained below so the application sequence remains easy to follow.

Create a Clean Horizontal Section
Begin at the lower area of the head and work upwards in controlled rows. Secure the remaining natural hair away from the section using professional clips or Hair Grippers.

Position the Heat Protective Shield
Isolate an appropriate section of natural hair and position the heat shield between the fitting area and the scalp.

Secure the Shield & Isolate the Strand
Keep the surrounding hair controlled so only the intended natural hair section sits within the application area. Check that neighbouring hairs are not crossing into the section.

Position the Pre-Bonded Extension
Place the Nail-Tip attachment alongside the isolated natural hair section in the intended fitting position. The finished attachment should allow comfortable movement and should not be placed so tightly against the scalp that it creates unnecessary tension.

Position the Heat Connector
Place the professional fusion tool around the pre-bonded keratin attachment while keeping the heated tool away from the client's scalp.

Soften the Keratin Bond
Use the heat connector according to the instructions for the professional tool and bonding material. Heat only as required to make the keratin workable for bond formation.

Form the Keratin Attachment
While the keratin is still workable, use the appropriate professional technique and finger protection to form a neat, compact attachment around the natural hair section.

Allow the Bond to Cool & Check the Result
Allow the keratin attachment to cool and firm before manipulating it. Check that the extension is secure, the natural hair can move comfortably and neighbouring hairs have not been trapped across the bond.
What Should a Correctly Fitted Nail-Tip Bond Look & Feel Like?
The finished attachment should be neat, secure and consistent with the surrounding extensions.
The extension should remain firmly attached to the intended natural hair section.
The attachment should not cause significant or persistent pulling or pain.
Bond size and placement should remain reasonably consistent throughout the fitting.
Cross hairs and neighbouring strands should not be trapped within the attachment.
The natural hair section should be suitable for the extension strand it supports.
The finished keratin attachment should not remain unusually soft, tacky or deformable.
How Should Nail-Tip Extensions Be Spaced?
Extensions should be distributed in clean sections with enough separation for individual attachments to move and be maintained correctly.
Avoid packing bonds together simply to fit as many extensions as possible.
Correct spacing helps the wearer brush between attachment areas and makes it easier to identify tangling, trapped hairs or maintenance issues later.
Common Nail-Tip Fitting Mistakes to Avoid
Do
- Assess the client's natural hair first
- Work with clean, controlled sections
- Use suitable strand weight
- Protect the scalp during heat application
- Follow the heat connector instructions
- Form neat, consistent bonds
- Check for cross hairs
- Allow comfortable natural movement
Avoid
- Using a universal heat setting without checking the tool
- Fitting heavy extensions to tiny natural hair sections
- Placing attachments with painful tension
- Trapping neighbouring hairs inside bonds
- Overheating keratin unnecessarily
- Creating very bulky bonds
- Overloading delicate hairline areas
- Assuming tighter means better
Should Nail-Tip Extensions Feel Tight After Fitting?
Clients may initially notice the new attachment points and additional hair, but significant or persistent pain should not simply be accepted as normal.
Check the fitting if:
- One bond feels considerably tighter than surrounding extensions
- The client experiences persistent pulling or pain
- Moving the natural hair causes significant discomfort
- Cross hairs have been trapped between sections
- A very small natural hair section is carrying excessive extension weight
What Happens After Nail-Tip Extensions Are Fitted?
Follow the aftercare and first-wash instructions appropriate for the particular professional bond system used.
We no longer recommend presenting one fixed waiting period as a universal rule for every keratin extension system.
General Nail-Tip Aftercare
- Brush gently from the ends upwards.
- Support fitted extensions while brushing.
- Wash with the head upright.
- Avoid aggressive rubbing or twisting.
- Keep conditioner, oils and heavy treatments away from the bonds.
- Dry the attachment areas thoroughly.
- Avoid concentrated direct heat on the bonds.
- Never sleep with fitted extensions wet or damp.
- Attend professional maintenance when required.
How Are Nail-Tip Extensions Removed?
Nail-Tip extensions should be professionally removed using the correct bond-removal technique and suitable products and tools.
Do not pull or force keratin attachments from the natural hair.
Fitting and removal should be treated as two parts of the same professional service. Correct removal is important for reducing unnecessary pulling on the client's natural hair.
Need Nail-Tip Application Tools?
Browse Nail-Tip extensions, professional fusion Heat Connectors and application accessories, or choose our Pre-Bonded Hair Extension Starter Kit for a convenient selection of essential professional fitting tools.
Shop Nail-Tip Extensions View Starter Kit Shop Heat ConnectorsRelated Hair Extension Guides
Nail-Tip / U-Tip Fitting – FAQs
What are Nail-Tip hair extensions?
Nail-Tips, also called U-Tips, are individual pre-bonded human hair extension strands with a keratin attachment designed for professional heat-fusion application.
How are U-Tip hair extensions fitted?
An appropriate section of natural hair is isolated, the pre-bonded keratin tip is positioned alongside it and a professional heat connector is used to soften the attachment. The keratin is then formed into a neat bond and allowed to cool.
Do Nail-Tip extensions use glue?
Nail-Tips use a manufactured pre-bonded keratin attachment designed for the professional fusion method rather than household or generic liquid glue.
What tools are needed for Nail-Tip extensions?
Typical tools include a professional heat connector, Heat Protective Shields, sectioning tools, Hair Grippers and Finger Protectors alongside the Nail-Tip extension strands.
What temperature should a Nail-Tip heat connector be?
We do not recommend one universal setting for every fusion applicator and keratin product. Follow the operating instructions appropriate for the professional tool and bonding material being used.
How long should you heat a Nail-Tip bond?
There is no universal number of seconds that should automatically be applied to every tool and bonding material. Heat only as required according to the equipment instructions so the keratin becomes suitably workable for professional bond formation.
How close to the scalp should Nail-Tips be fitted?
The attachment needs to sit securely while allowing comfortable natural movement. It should not be positioned in a way that creates excessive scalp tension.
Should Nail-Tip extensions hurt after fitting?
Significant or persistent pain should not simply be accepted as normal. Ask the extensionist to check any attachment causing unusual pulling or discomfort.
How many Nail-Tip extensions do I need?
The amount depends on natural hair density, desired length and volume, strand weight and the finished result. There is no single number that is correct for every client.
Do Nail-Tip extensions require a 48-hour patch test?
Do not use one homemade testing procedure for every fitting product. Follow any testing and safety instructions provided by the manufacturer of the specific professional products being used and carry out a thorough client consultation.
How long should I wait before washing newly fitted Nail-Tips?
Follow the first-wash guidance appropriate for the particular bond system and professional fitting used rather than assuming one waiting period applies to every keratin extension system.
Can I fit Nail-Tip extensions myself?
Nail-Tip fitting uses heated professional equipment and requires correct natural hair assessment, sectioning, placement and bond formation. Professional application by a trained extensionist is recommended.
How are Nail-Tip extensions removed?
Fitted keratin attachments should be professionally removed using the appropriate removal product, tools and technique rather than being pulled from the natural hair.
Professional Nail-Tip Fitting Starts With Good Sectioning
Successful Nail-Tip application combines natural hair assessment, appropriate extension weight, controlled sectioning, professional heat application and neat bond formation. Take your time, keep every section clean and consistent, and always prioritise the condition and comfort of the client's natural hair.
Shop Nail-Tip Hair Extensions Fitting & Removal Guides Contact Us