


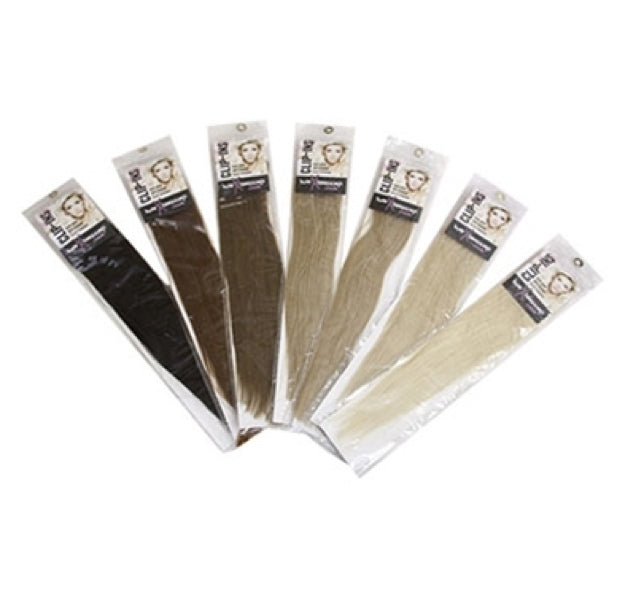
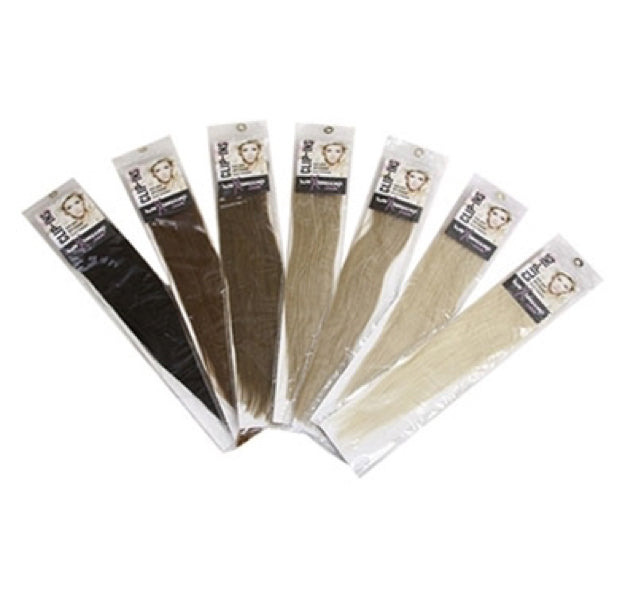

Tape-In hair extensions are designed to sit flat against the natural hair using adhesive attachment panels. When it is time for maintenance, refitting or complete removal, those adhesive sections need to be released carefully rather than pulled apart or dragged from the natural hair.
Correct removal is just as important as correct fitting. Using a compatible Tape-In Hair Extension Remover, working methodically and allowing the adhesive enough time to release can make the process much easier while avoiding unnecessary tension on the natural hair.
✨ Tape-In Removal at a Glance
- Tape-In extensions should be professionally removed.
- Work with one attachment area at a time.
- Use a compatible Tape-In adhesive removal solution.
- Allow the remover time to soften and release the adhesive.
- Never pull or force resistant Tape-In panels apart.
- Remove remaining adhesive before preparing extensions for possible reuse.
- Use fresh replacement tape for suitable professional refitting.
When Do Tape-In Hair Extensions Need Removing?
Tape-In extensions gradually move farther away from the scalp as the natural hair grows. Eventually, the extensions will need to be professionally removed and either refitted, replaced or left out depending on the condition of the hair and the wearer's preference.
Removal may also be required sooner if an attachment has slipped, become uncomfortable, tangled excessively around the fitting area or otherwise needs professional assessment.
There isn't one maintenance timetable that will be appropriate for every wearer. Natural hair growth, fitting, lifestyle, aftercare and the condition of the attachment areas can all affect when maintenance is needed.
⚠️ Don't Pull Tape-Ins Out
If an attachment does not release easily, do not increase the pulling force. Apply additional compatible remover where required, allow more time for the adhesive to soften and reassess the attachment before continuing.
What Is Needed to Remove Tape-In Hair Extensions?
A professional Tape-In removal appointment will normally require suitable products and tools for releasing the adhesive and preparing the removed extensions.
Tape-In Removal Solution
A compatible removal solution is used to soften and release the adhesive between the Tape-In attachment panels.
Sectioning Tools
Clips, grippers and a suitable comb can help keep surrounding hair controlled while individual Tape-In attachments are worked on.
Adhesive Removal Tools
If the extension pieces are going to be prepared for reuse, specialist tools can help remove softened old adhesive from the Tape-In tab area.
Fresh Replacement Tabs
Previously worn Tape-In extensions that remain suitable for reuse require fresh compatible adhesive before professional refitting.
How Are Tape-In Hair Extensions Professionally Removed?
1. Separate the Hair Into Manageable Sections
The surrounding natural hair should first be carefully sectioned away so that the professional can clearly see and access the Tape-In attachment being removed.
Working methodically through individual attachments helps prevent neighbouring hair from becoming caught during the process.
2. Apply Tape-In Remover to the Adhesive Area
Apply a compatible Tape-In removal solution directly to the adhesive attachment.
Our Tape-In Hair Extensions Remover is designed for this purpose. After application, allow approximately a minute for the remover to work into the adhesive before attempting to separate the attachment.
💡 Professional Removal Tip
Patience matters. If an adhesive panel is still resistant, apply more compatible remover and allow additional time rather than pulling harder.
3. Carefully Separate the Tape-In Panels
Once the adhesive has softened sufficiently, the attachment can be carefully separated using the appropriate professional technique.
The panels should release without being aggressively pulled away from the client's natural hair.
Continue working through the fitting one attachment at a time.
4. Deal With Remaining Adhesive Residue
After a Tape-In extension has been released, some softened adhesive may remain on the extension tab area or around the attachment.
This should be removed carefully using suitable professional products and techniques rather than being aggressively scraped or pulled through the natural hair.
If adhesive remains resistant, additional remover may be required.
Why Is There Shed Hair After Tape-In Removal?
Seeing loose hairs during professional removal can sometimes be surprising, but some naturally shed hairs can remain trapped within a fitted extension attachment until the extension is removed.
Once the Tape-In panels have been released, those previously shed hairs can then become visible during gentle detangling.
However, excessive tangling, matting, discomfort or concerns about the condition of the natural hair should always be assessed individually by an appropriately trained professional.
⚠️ Stop if the Attachment Is Resistant
Tape-In extensions should not need to be forcibly pulled from the natural hair. If the adhesive has not released sufficiently, stop and use additional compatible removal solution before proceeding.
Can Tape-In Hair Extensions Be Reused?
Where the human hair extensions remain in suitable condition, Tape-Ins may be professionally prepared and refitted with fresh adhesive.
The old adhesive first needs to be removed from the Tape-In attachment area so that the extension can be properly prepared for new replacement tabs.
The condition of each extension should also be assessed before deciding whether it is suitable for another fitting. Extensions that have become excessively tangled, dry, damaged or otherwise unsuitable should not automatically be reused simply because the old adhesive can be removed.
How Is Old Tape Removed From the Extension Pieces?
Removing the extension from the client's hair and removing the old adhesive from the extension itself are two separate parts of the process.
After the Tape-In pieces have been professionally removed, softened adhesive residue can be carefully worked away from the tab area.
Our HairX Pro Tape Tabs Removal Kit is designed to assist trained professionals when preparing compatible Tape-In pieces for reapplication.
Preparing Tape-Ins for Refitting
- Professionally remove the Tape-In extensions from the natural hair.
- Clear the old adhesive from the Tape-In tab area.
- Check the condition of the extension hair and attachment area.
- Prepare the tabs appropriately.
- Apply fresh compatible replacement adhesive.
- Professionally refit only where the extensions remain suitable for reuse.
Do Tape-In Extensions Need Fresh Tape When Reapplied?
Yes. Old adhesive should be removed before suitable extensions are prepared for professional refitting with fresh replacement tape.
Our HairX Pro Replacement Tape Tabs are supplied in packs of 60 and are designed for compatible Tape-In extension applications and refitting.
Can You Remove Tape-In Extensions at Home?
We recommend that professionally fitted Tape-In extensions are also professionally removed.
The removal process involves correctly identifying the attachment areas, applying compatible remover, controlling the surrounding natural hair, releasing the adhesive without unnecessary pulling and dealing appropriately with any remaining residue.
If you're unable to return to the original extension professional, look for somebody appropriately trained and experienced in Tape-In extension removal rather than attempting to force the attachments out yourself.
What Should You Avoid During Tape-In Removal?
❌ Common Tape-In Removal Mistakes
- Pulling resistant attachments apart.
- Dragging adhesive through the natural hair.
- Trying to rush through several attachment areas at once.
- Using unsuitable products simply because they appear to loosen adhesive.
- Refitting extensions without properly removing the old tape and residue.
- Automatically reusing extension hair without first checking its condition.
What Happens After Tape-In Removal?
Once all of the extensions and adhesive residue have been removed, the natural hair can be gently detangled and cleansed as appropriate.
This is also a useful opportunity for the professional to assess the natural hair and scalp before deciding whether immediate refitting is appropriate or whether a different plan would be better for the client.
If the Tape-In extensions themselves are being reused, they should be properly cleaned and prepared before fresh replacement adhesive is fitted.
Tape-In Removal Products
Tape-In Hair Extensions Remover
Professional removal solution designed to help release compatible Tape-In adhesive attachments.
Tape Tabs Removal Kit
Professional kit designed to help remove old adhesive when preparing suitable Tape-In extension pieces for refitting.
Replacement Tape Tabs
Fresh compatible adhesive tabs for professional Tape-In application and refitting.
Professional Tape-In Removal Matters
Good Tape-In removal isn't about getting the extensions out as quickly as possible. The aim is to release each adhesive attachment in a controlled way while avoiding unnecessary pulling and keeping the surrounding natural hair organised throughout the process.
Use a compatible remover, allow the adhesive time to release and never force a resistant attachment.
Explore Tape-In Hair Extensions ✨
Discover our human hair Tape-In extensions along with professional application, removal and refitting products.