


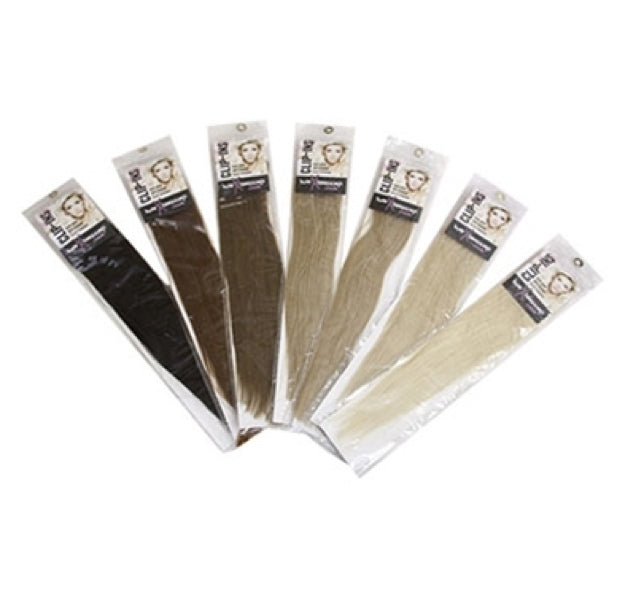
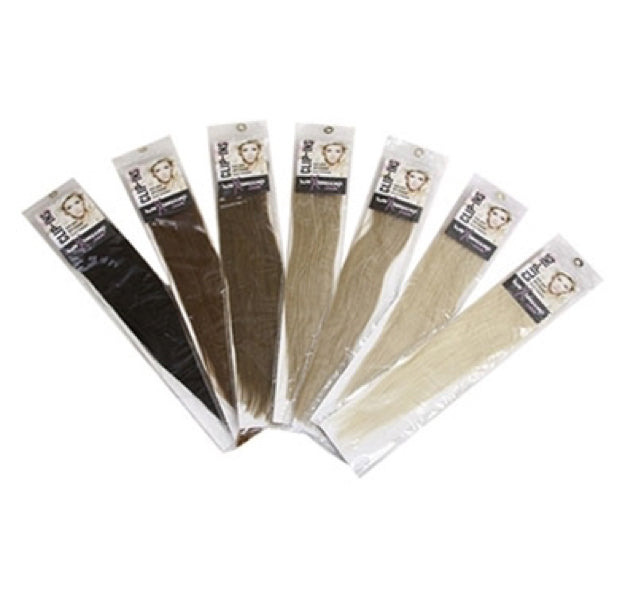
Stick-Tip hair extensions, also known as I-Tip extensions, are commonly fitted using small Micro Rings that are professionally closed around an appropriate section of natural hair and the extension tip.
Removal does not require acetone, keratin remover or heat. Instead, the closed Micro Ring is carefully reopened using suitable professional removal pliers so the extension and natural hair can be released.
Although Micro Ring removal is relatively straightforward for a trained extensionist, the rings should never simply be pulled down the natural hair while still closed.
This updated guide keeps our original HairXtensions removal video and all seven step-by-step photographs while adding detailed advice on ring opening, stubborn attachments, natural shed hair, root matting, extension reuse and checking the client's natural hair after removal.
Quick answer: Stick-Tip / I-Tip extensions are removed by isolating the fitted Micro Ring, positioning suitable opener or removal pliers around the closed ring and carefully reshaping it in the opposite direction to how it was flattened during fitting. Once the ring has opened sufficiently, support the natural hair and gently separate the ring and Stick-Tip without dragging a closed attachment down the hair.
Professional Removal Recommended
Micro Ring removal should be carried out carefully using tools designed for the attachment.
Incorrectly squeezing the ring, pulling it while closed or repeatedly dragging it through the natural hair can create unnecessary pulling and breakage.
We recommend removal by a trained hair extension professional, particularly where attachments are heavily grown out, distorted or surrounded by root tangling.
Stick-Tip / I-Tip Micro Ring Removal Video
Watch our original HairXtensions Micro Ring removal demonstration and then follow the updated step-by-step instructions below.
How Does Micro Ring Hair Extension Removal Work?
During fitting, a Micro Ring is compressed with professional pliers to hold the natural hair and Stick-Tip extension securely together.
During removal, that flattened ring needs to be carefully reshaped so the internal opening becomes large enough for the Stick-Tip and natural hair to separate.
During Application
The Micro Ring is positioned correctly and compressed to secure the Stick-Tip and natural hair.
During Removal
The ring is carefully opened or reshaped using the correct removal pliers before the extension is separated.
No chemical remover is normally required for a standard Micro Ring fitting. The attachment is mechanically opened rather than chemically dissolved.
Tools Needed for Micro Ring Removal
Use a tool designed to open or reshape Micro Ring attachments rather than improvising with unsuitable household pliers.
HairXtensions currently stocks dedicated Micro Ring opener and removal pliers specifically for ring-based extension removal.
Before Removing Stick-Tip Extensions
Take a few minutes to assess the fitting before opening the first ring.
Identify the attachment and make sure the selected removal tool is suitable for the Micro Ring being opened.
Look at how the ring was originally compressed so you know where to position the opener pliers.
Identify compact tangles or trapped shed hair before attempting to slide anything through the section.
Gently remove manageable tangles from the extension lengths first.
Keep surrounding hair clipped away so each individual attachment is easy to see and control.
Note any areas of thinning, breakage, soreness or unusual tension as you work through the fitting.
How to Remove Stick-Tip / I-Tip Micro Ring Extensions
We've retained all seven original HairXtensions removal photographs and added clearer instructions and improved alt text.

Isolate the Micro Ring Attachment
Work with one attachment at a time. Separate the fitted Stick-Tip and Micro Ring from neighbouring hair and support the natural hair close to the attachment.

Position the Ring in the Opener Pliers
Place the compressed Micro Ring correctly within the groove or opening section of the professional removal pliers.

Check the Ring Alignment
Make sure the ring is positioned so the pliers will reshape the flattened attachment rather than simply compressing it further.

Carefully Reopen the Micro Ring
Apply controlled pressure with the opener pliers to reshape the compressed ring. The aim is to restore enough internal space for the extension and natural hair to separate.

Separate the Stick-Tip
Once the Micro Ring has opened sufficiently, gently separate the Stick-Tip extension from the ring while supporting the client's natural hair.

Remove the Open Ring
Remove the opened Micro Ring from the natural hair without dragging or scraping it through the section. If it catches, check that the ring is open fully enough and that there is no root tangling holding it in place.

Check & Detangle the Natural Hair
Once the attachment has been removed, gently separate any naturally shed hair or light tangling around the section before moving to the next extension.
What if a Micro Ring Will Not Open?
Do not immediately pull harder on the extension.
First check the shape of the compressed ring and how the removal pliers are positioned.
If the attachment remains resistant:
- Support the natural hair close to the attachment.
- Reposition the opener pliers.
- Check that you are applying pressure in the correct direction.
- Open the ring gradually rather than repeatedly crushing it.
- Check for natural hair or tangling caught around the attachment.
- Only separate the Stick-Tip once the ring has opened sufficiently.
Never Drag a Closed Ring Down the Natural Hair
A Micro Ring that is still gripping the natural hair should be opened properly before it is removed.
Pulling or dragging a closed ring through the section creates unnecessary mechanical force on the natural hair.
What if the Micro Ring Has Become Misshapen?
A fitted ring can sometimes become uneven or distorted during wear, maintenance or previous clamping.
In these situations, do not assume one squeeze with the opener tool will automatically return it to a perfect circle.
Work carefully around the ring and create enough space for the natural hair and Stick-Tip to be released without forcing either component.
Specialist HairX Pro Micro Bead/Ring Removal Pliers are another useful option because their opening mechanism is designed specifically to help open fitted Micro Ring attachments.
Why Is There Loose Hair Around the Micro Rings?
Natural hair continues through its normal growth and shedding cycle while extensions are fitted.
Some naturally released hairs can remain held inside the Micro Ring attachment instead of immediately falling away.
When the ring is opened during maintenance or removal, these shed hairs can suddenly become visible.
Natural Shed Hair
Complete naturally released hairs may remain trapped within the attachment until the Micro Ring is opened.
Hair Breakage
Short snapped hairs, progressive thinning or areas with obvious loss of density should not automatically be dismissed as ordinary shedding.
Seeing accumulated shed hair during removal does not automatically mean that the Micro Ring extensions have pulled those hairs from the scalp.
What if the Hair Is Matted Around the Micro Rings?
Naturally shed hairs can remain around grown-out attachments and may gradually tangle together if the fitted sections have not been separated and maintained properly.
If you find root matting during removal:
- Open and remove the Micro Ring before aggressively detangling the area.
- Support the natural hair close to the scalp.
- Separate loose hairs gradually with your fingers where possible.
- Work from the outer edges of the tangle towards the compact area.
- Use a suitable comb carefully once the main tangle has been loosened.
- Do not force a fine-tooth comb directly through a compact root mat.
If a heavily tangled section makes it difficult to distinguish natural hair from the extension attachment, slow down rather than cutting blindly around the root area.
Can Micro Rings Be Reused After Removal?
The old version of this guide automatically states that the removed ring can be reused.
We would take a more cautious approach.
A Micro Ring has already been compressed during fitting and then reshaped again during removal. It may no longer have exactly the same shape or condition as a fresh ring.
For a fresh refitting, we recommend using new compatible Micro Rings rather than assuming every previously fitted ring should automatically be reused.
This also gives the extensionist the opportunity to reconsider whether the original ring size and type are still the best choice for the client's natural hair and Stick-Tip strand.
Shop Micro Rings Silicone-Lined Micro RingsCan Stick-Tip Hair Extensions Be Reused?
Depending on their condition, suitable Stick-Tip extension strands may be able to be professionally reused or repositioned.
Do not decide based only on whether the tip still fits through a Micro Ring. Inspect the human hair lengths as well.
Is the extension hair still soft and manageable enough for another fitting?
Check whether the extension ends remain reasonably full rather than becoming excessively thin.
Inspect the tip for damage, deformation or loss of extension hairs.
Very dry, brittle or severely tangled extension hair may be better replaced.
Look for significant loss of density or large amounts of broken extension hair.
Make sure the extension shade still suits the client's natural hair before planning another fitting.
Reusing an extension strand does not reset the condition or age of the human hair. Assess it on its current condition before refitting.
What Should Be Checked Before Refitting Stick-Tips?
Before applying the extensions again, reassess both the client's natural hair and the extension strands.
Consider:
- Whether the natural hair remains suitable for the extension weight
- Whether there has been unusual breakage or thinning
- Whether the previous Micro Ring size performed well
- Whether repeated slippage occurred
- Whether the original section sizes were appropriate
- Whether the Stick-Tip strands remain in suitable condition
- Whether fresh rings should be used
- Whether the fitting pattern needs adjusting
If several extensions slipped repeatedly during the previous fitting, investigate why before simply reinstalling the same strands with the same rings and technique.
What Should You Do After All Micro Rings Are Removed?
Once every Stick-Tip and Micro Ring has been removed, take time to check and prepare the client's natural hair.
- Make sure no rings remain hidden within the hair.
- Gently separate accumulated natural shed hair.
- Detangle the root area without excessive pulling.
- Check the natural hair for unusual breakage or thinning.
- Wash and condition the natural hair appropriately.
- Dry the hair and reassess its condition before another fitted service.
A new set or maintenance refit should not automatically begin simply because removal has finished. The natural hair should still be suitable for the planned extension weight and fitting method.
Common Micro Ring Removal Mistakes to Avoid
Do
- Work through the fitting systematically
- Use proper Micro Ring opener or removal pliers
- Check how each ring has been compressed
- Support the client's natural hair
- Open the ring fully before removing it
- Deal with root tangling gently
- Assess natural shedding separately from breakage
- Check extension condition before reuse
Avoid
- Dragging closed rings down the natural hair
- Pulling harder when a ring catches
- Crushing the ring further instead of reopening it
- Using inappropriate household pliers
- Forcing a comb through root matting
- Cutting blindly around attachment areas
- Assuming every removed ring should be reused
- Automatically refitting damaged extension strands
Need the Stick-Tip / I-Tip Fitting Guide?
Our separate Stick-Tip fitting guide explains Micro Ring selection, natural-hair section size, threading, positioning, clamping, slippage prevention and aftercare.
Stick-Tip / I-Tip Fitting GuideProfessional Micro Ring Removal Tools
Use professional tools designed to open fitted Micro Rings cleanly rather than pulling closed attachments through the client's natural hair.
Micro Ring Opener Pliers HairX Pro Removal Pliers Shop All Removal ToolsRelated Hair Extension Guides
Stick-Tip / Micro Ring Removal – FAQs
How do you remove Stick-Tip hair extensions?
Stick-Tip extensions fitted with Micro Rings are removed by professionally reopening the compressed ring with suitable opener or removal pliers before separating the extension from the natural hair.
How do you remove I-Tip extensions?
I-Tip is another commonly used name for Stick-Tip extensions. When fitted using Micro Rings, the ring is reshaped and opened using professional removal pliers before the I-Tip is released.
Do Micro Ring extensions need removal solution?
Standard Micro Ring Stick-Tip extensions normally use a mechanical attachment, so chemical bond remover is not required. The ring is opened using the appropriate professional pliers.
Which pliers remove Micro Ring extensions?
Use professional Micro Ring opener or removal pliers designed to reshape the compressed attachment. HairXtensions stocks standard opener pliers and specialist HairX Pro Micro Bead/Ring Removal Pliers.
How do Micro Ring opener pliers work?
The closed ring is positioned correctly within the opener tool and controlled pressure is applied to reshape the flattened attachment, creating enough internal space for the extension and natural hair to be separated.
Can I slide a closed Micro Ring down the hair?
No. Open the attachment correctly first. Dragging a ring that is still gripping the natural hair can create unnecessary pulling and breakage.
What if the Micro Ring won't come off?
Stop pulling and check whether the ring has opened sufficiently. Reposition the removal pliers and reshape the ring further before trying to separate it again. Also check for root tangling around the attachment.
Can Micro Rings be reused?
We recommend using fresh compatible Micro Rings for a new or repositioned fitting rather than automatically reusing rings that have already been compressed and reopened.
Can Stick-Tip extensions be reused?
Suitable Stick-Tip extension strands may sometimes be professionally reused if the extension hair and attachment remain in good enough condition. Inspect the lengths and tips before refitting.
Why is there loose natural hair inside the Micro Ring?
Naturally shed hairs can remain held inside fitted attachments until maintenance or removal. This can make accumulated shed hair more visible when the Micro Ring is opened.
Does loose hair during removal mean my extensions caused breakage?
Not necessarily. Natural shedding and hair breakage are different. Complete naturally shed hairs may have remained trapped inside the fitted section, while short snapped hairs or progressive thinning should be assessed separately.
How do you detangle hair after Micro Ring removal?
Support the natural hair and gently separate accumulated shed hair and tangles. Loosen compact areas gradually before using a comb rather than forcing a fine-tooth comb directly through root matting.
Can I remove Micro Ring extensions myself?
We recommend professional removal. A trained extensionist can identify the correct opening direction, deal with distorted rings and safely manage root tangling without unnecessarily pulling the natural hair.
Should the natural hair be checked before Stick-Tips are refitted?
Yes. Check the natural hair for breakage, thinning, root matting and overall condition before deciding whether another fitted extension service and the same strand weight remain suitable.
What should I do if several Stick-Tips slipped during the last fitting?
Investigate ring size, section size, clamping, placement, products, natural hair characteristics and maintenance before repeating exactly the same fitting.
Open the Ring — Never Pull It Through the Hair
Good Stick-Tip removal is about reversing the Micro Ring attachment cleanly. Support the client's natural hair, open each ring sufficiently before removing it, deal with accumulated shed hair gently and assess both the natural hair and extension strands before planning another fitting.
Shop Micro Ring Opener Pliers Shop Removal Tools Fitting & Removal Guides